
How cute are these little pumpkins? It’s pumpkin everything month and this is a cute and super easy craft you can whip up in no time. I made 3 at one time,cause while you got it all out and you get started it goes fast. Follow these easy directions:
Materials:
– 25 recycled wine corks
– Orange acrylic paint
– Paint brush
– Hot glue gun
– Craft knife
– Silk leaves & dried moss
– Scissors
– Sisal twine
Instructions:
1. Paint both ends of all but one cork. Allow to dry.
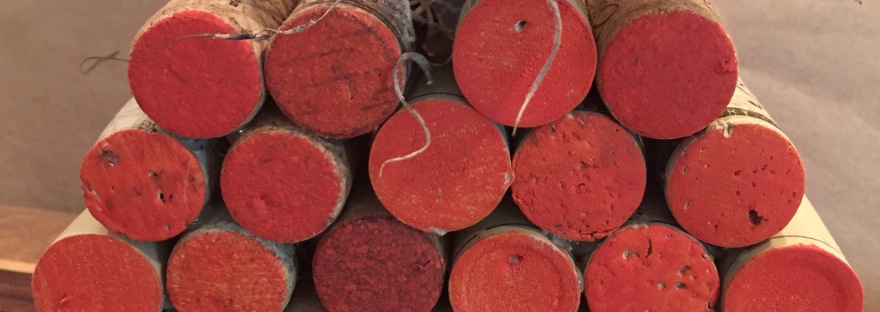
2. Arrange the corks in rows (4 on the bottom, then 5, then 6, then 5 and 4 on the top row) and hot glue them together. Tip: Try to match up the corks so they’re the same length in each row.
3. Cut leafs or any dried greenery you choosing to use and hot glue onto top of pumpkin
4. Take the one remaining cork and cut off part of it with the craft knife. Hot glue it on top as the stem.5. Tie a short length of sisal twine around the stem to resemble the vine.
Tip: Not all corks are created equal. Watch for ones that are shorter and use that one for the stem.


 This will make a cute little gift for your BFF,the Hostess at the next party your invited to or wrap it up with some Pumpkin Cookies and some Pumpkin Spice Latte Syrup for a awesome “just because” gift. FYI- I believe in the Great Pumpkin!


